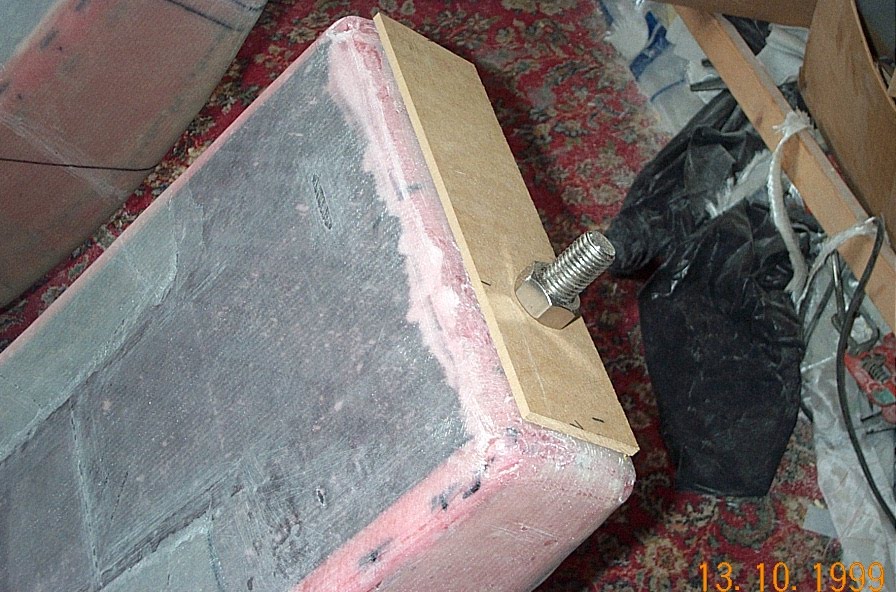
I was not very happy with the laminates around the bolt on the tip of the beam. When I did the "wraps", I slit the cloth and tucked it around the bolt, but it did not co-operate, and left a lot of air and lumps and bumps. I decided to grind them out and fill with hd putty and patch as well. You then need to recreate a flat surface perpendicular to the bolt, for the nut to tighten up against.
I used the nut and some cut offs of MDF for that. Will be wrapped in plastic tape before use.
I thought I might as well make the float/ beam sleeves while I was at it. Made by wrapping fiberglass around the tip area and then pulling off.
Fairing mixture on the tips to just above the float deck level.
Fairing off the tips and re-drilling the pivot pin access holes in the beam sides. I found that shining a bright lamp down the slots in a darkened room lit up the pivot holes very well underneath the fiberglass. These holes had been sealed of with a foam plug and some hot glue. I was able to drill them very accurately using this method.
Tips faired off.. The geometry is such that the sleeve should not get locked on due to the shape. The tip is tapered up/down and sideways. In fact once you have managed to get the sleeve to move even a couple of mm, the whole thing should then slide off easily. (In theory!)
Resin proofing the tips. Parcel tape and wax. I find that although it is true to say that the resin does not stick to plastic tape, it still needs a bit of a jerk to come off. I may make a couple of handles somewhere on the sleeve to give me something to hold onto when I try to pull them off..
Getting the cloth ready. To be continued....
The bolt on the tip has been a constant nuisance, it is just begging to get damaged or covered in resin!
I made a raised ridge where the sleeve will be trimmed off , it should save me damaging the beam itself, and means there will be less sleeve to try and get off.
The sleeves laminated on.
I glued on the bolt washer on the aft beams with HD putty, but this was not a good idea and just made them harder to get off.
After laminating, none of the sleeves would budge at all.! In the end I bonded on some wooden blocks and used a hammer to tap them off. But before that I did as much as I could to break the seal between the plastic tape and fiberglass. I used a 12V car tyre inflator to pump some air up the sleeve. This broke the resin/fiberglass seal in some places, but not over the tip or down the sides. It is also difficult to get a proper seal around the edge of the sleeve. I used some vacuum bagging rubber tape. Without breaking this resin fiberglass seal first, I very much doubt weather I could have got them off at all.
Wooden blocks bonded on the sides and pointing at the tip.
Success. They are a very tight fit around the beams. When you pull them off, there is a suction/vacuum effect trying to hold them on. A small hole drilled in the tip helps to release them.
Aft beam sleeves finished. And no resin in the bolt threads. FWD beam sleeves are still stuck fast, and the air compressor has broken down. (I may have burned it out by running it from a battery charger, I am not sure.)
Anyway I am awaiting a replacement, as the sleeves will not budge at all without some more releasing under the fiberglass.
Fwd beam sleeves finally finally off! Bastards! What a struggle - hours and hours of agro and frustration! Using compressed air did not work as it is virtually impossible to get a good seal around the sleeve. They would just not come off with tapping alone, (wood blocks got completely mashed with hammering) and in the end I had no option but to try and cut them off, without damaging the beam. Not a happy situation to be in. I am doubly annoyed because my gut instinct when I laminated these on was that they would not come off. The shorter AFT sleeves yes, but not the longer FWD ones. The whole thing is a recipe for disaster. You cannot physically exert enough force to overcome the friction/tightness.
In the end I managed to push an old hacksaw blade partly up the middle of the sides, and then using a Feinmaster type cutter, I made 9 inch slits up the sleeve sides, trying to cut on top of the hacksaw blade. This released the tightness just enough to let me prise open the tops and bottoms with some very thin wedges and push an old bandsaw blade up to the tip in places, thereby breaking the resin/plastic tape seal. Most of the time the blade just tears up the plastic tape and sticks, but I managed to break just enough of it so that it would tap off. The suction/vacuum effect is even stronger on these sleeves, and a hole drilled at the tip definately helps to prevent this.
I have to say nonsense like this really leaves a bitter taste and tarnishes your view of the whole project. You wonder how much punishment you want to take. I now have the pleasure of repairing the sleeves and some of the side layers on the beam itself. As a final insult, the plastic tape came off in 5000 pieces and left most of the stickness behind! Urgh!
On a lighter note thank heavens for Devcon 5-minute epoxy and the Bosch multi-tool!. The epoxy is expensive but very impressive. Within 10/15 minutes of bonding on the wooden blocks I was able to hit them with a small sledge hammer and they did not come off at all. I have had to cut/chisel the blocks off.
The multi-tool is definately my 2nd most usefull piece of kit (after the Black and Decker Power file). You can plunge cut into materials, and it cuts even fresh or thick laminate very well without damage. It is also cheaper then the Feinmaster.